
Step by Step Setting Up Resources |

|

|

|
|
Step by Step Setting Up Resources |
|
|

|
Step by Step Setting Up Resources |
|
|
|
|
Step by Step Setting Up Resources |
|
|
|
Resources are rooms, stations, or equipment that need to be available for appointments that are scheduled. It is best to set up your resources if they are shared between employees and you need to track availability of these resources when scheduling appointments.
| 1. | In the Tool Bar choose Schedule and then select Setup Resources. |
| 2. | From the Options on the right, select "Add a New Room/Equipment". |
| 3. | Enter the name of the Resource and select "Save". |
| 4. | Repeat steps 2 and 3 until all of your resources have been added. If you have multiple resources that are the same it is the recommended that you number them for easy identification. |
EXAMPLE: Massage Room 1, Massage Room 2, Massage Room 3, etc.
| 5. | In the Tool Bar choose Schedule and then select Setup Resource Groups. |
| 6. | From the Options on the right, select "Add a New Category". |
| 7. | Enter a name in the "Resource Category" field. |
EXAMPLE: Massage Rooms.
| 8. | Highlight a resource from the left column and then select the |
EXAMPLE:
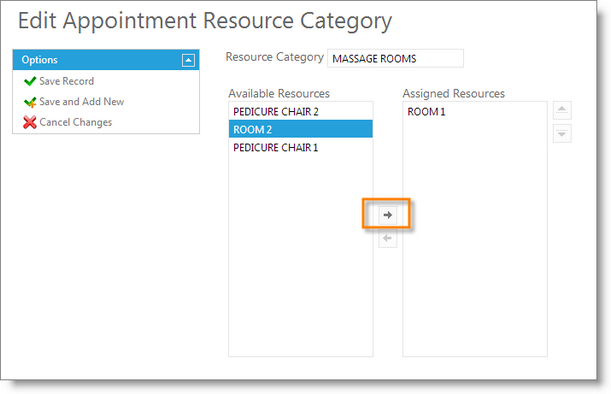
9. Select "Save Record".
