General Options |

|

|

|
|
General Options |
|
|

|
General Options |
|
|
|
|
General Options |
|
|
|
![]()
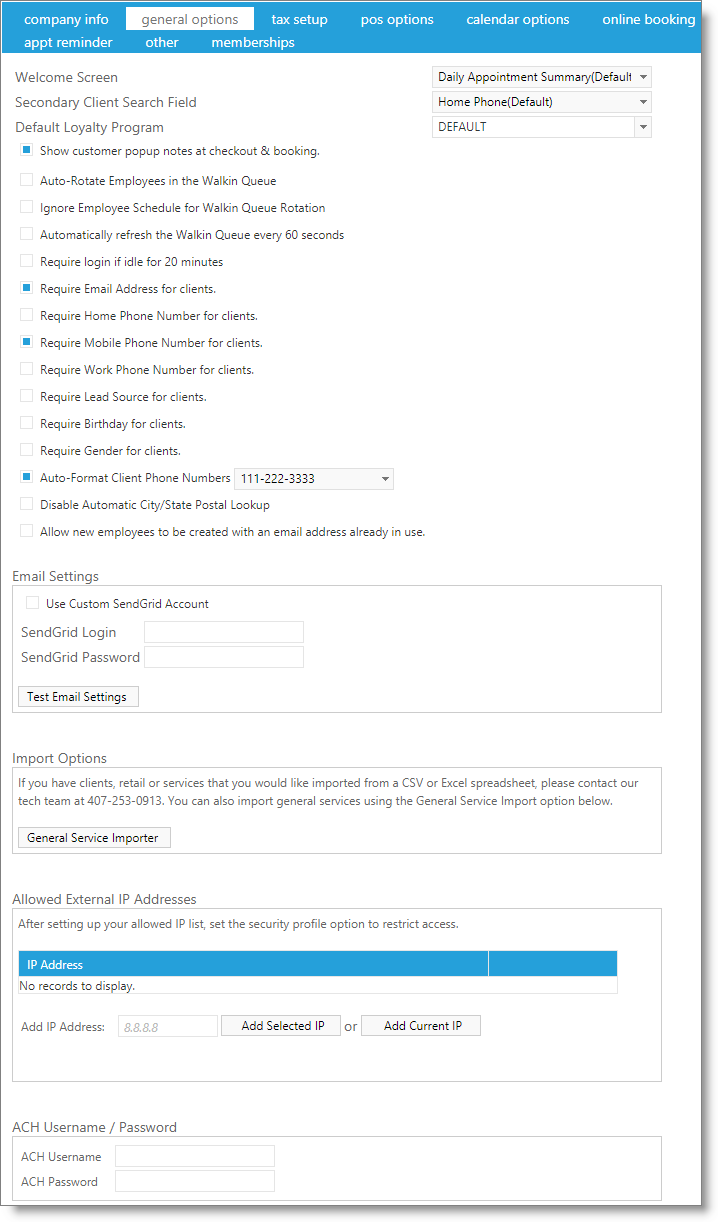
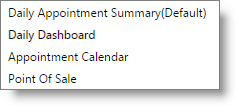
Welcome Screen
Choose which screen you want displayed upon log in. This can be set individually for each employee or a default may be selected here.
|
The Daily Appointment Summary is a screen that shows the appointments and current status.
The Daily Dashboard is a screen that summarizes the activities for the day.
The Appointment Calendar shows the services booked for the day.
The Point of Sale is the sales register screen. |
Secondary Client Search Field
Select which option you would like to view when selecting clients in the appointment calendar for booking, and the sales register for ringing up.
Default Loyalty Program
You may set a default Loyalty Program here if you would like all clients to be under the same Loyalty Program without having to individually assign a loyalty program per client. You may manually assign a loyalty program to a client in the client list if you would like them to be under a different Loyalty Program.
Note: When a default loyalty program is selected here, the Loyalty Program will not be displayed on the client's record. They will automatically receive Loyalty Points based on your plan. |
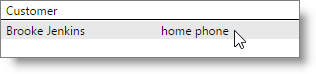
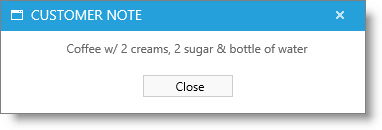
Show Customer Popup Notes At Checkout & Booking
Select this box to display client popup notes when creating an appointment for the client and when selecting the client in the Sales Register.
Auto-Rotate Employees in the Walkin Queue
Selecting this option will cycle through available employees for the walk-in queue.
Ignore Employee Schedule for Walkin Queue Rotation
Choose this option to disregard if an employee is marked as unavailable to allow assignation in the walk-in queue.
Automatically refresh the Walkin Queue every 60 seconds
Check this box if you have multiple devices accessing the walk-in queue. This will keep each device up-to-date.
Require login if idle for 20 minutes
After 20 minutes of inactivity, the current user will be logged out.
Require Client Email for Clients
Select this option to require that an email address be entered when new clients are added to the system or selected for editing.
Require Home Phone Number for Clients
Select this option to require that a phone number be entered into the home phone field when new clients are added to the system or selected for editing.
Require Mobile Phone Number for Clients
Select this option to require that a phone number be entered into the mobile phone field when new clients are added to the system or selected for editing.
Require Work Phone Number for Clients
Select this option to require that a phone number be entered into the work phone field when new clients are added to the system or selected for editing.
Require Lead Source for Clients
Check this box to require selection of lead source when adding clients or editing client profiles. Lead sources are created in the Lead Source List.
Require Birthday for Clients
Choose this option to require a birth date be entered when adding or editing client profiles.
Require Gender For Clients
Select this option to require that a gender be chosen when new clients are added to the system or selected for editing.
Auto-Format Client Phone Numbers
Select a format for client telephone numbers. This option will not affect numbers already entered into the system, just new entries.

Disable Automatic City/State Postal Lookup
Uncheck this option to allow the program to automatically fill in city and state when a zipcode has been entered on a client's profile. Check this option to require manual entry.
Allow New Employees To Be Created With An Email Address Already In Use
Selecting this box will allow you to assign more than one employee the same email address.
Email Settings
Envision Cloud accounts are allowed to send a number of emails each month. If a you have a large client database that will need more than this allotment, you can use these settings to connect Envision Cloud to a SendGrid email account. If this feature is enabled, the configured SendGrid account will be used to distribute ALL emails from Envision Cloud. Specific setup is required for statistics to show for sent campaigns.
Import Options
To import a list of commonly-used services, click this button to begin the import process.
Allowed External IP Addresses
You may enter an IP address here to limit the devices that can be used to connect with the company as created in Envision Cloud. If there are multiple computers that need to connect that are on the same network, you will only need to set this on a single computer from the network. If you are using mobile devices (phones, tablets, etc) while on the company WI-FI (if offered), the devices will be able to connect without further setup. Once the devices leave the WI-FI connection, they will be unable to connect, or restrictions will apply, as set on the employee security profiles.
Once all acceptable IP addresses have been set here, you must choose to only allow logging in from selected IPs in the security profiles.
ACH Username / Password
The option for banking information will show if you have the Preferred edition of Envision Cloud. This allows you to bill memberships using ACH information. Please contact the sales department at (800) 231-9445 for set-up.
The Membership system is available with the Preferred level of Envision Cloud. You can update your account on the Account Management Subscription Page |